Want to top of your runDisney running costume with just the right touch? Or Disneyfy a non-Disney outfit? Then for your next runDisney event, (or whatever race you’d like to feel extra magical,) try making a pair of Minnie ears that are lightweight, comfy and perfect for running!

I started making Minnie ears back in 2014 and since then, my bows have thankfully improved!

March 11, 2022 Update: Wow, I need to add about four years worth of photos to this collage!
Oh, and wearing a tiara with ears? Yeah. No. That was a painful mistake that I don’t recommend.

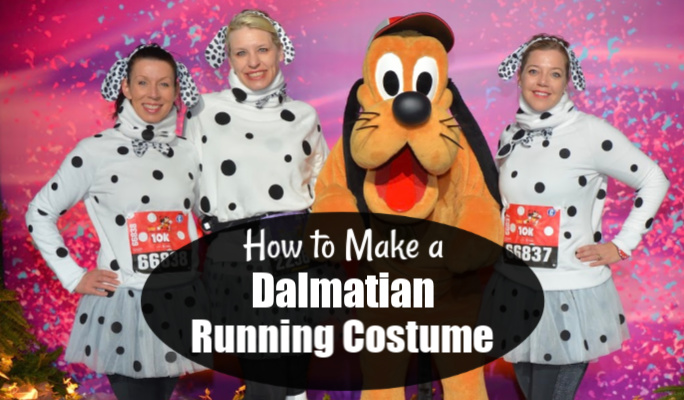
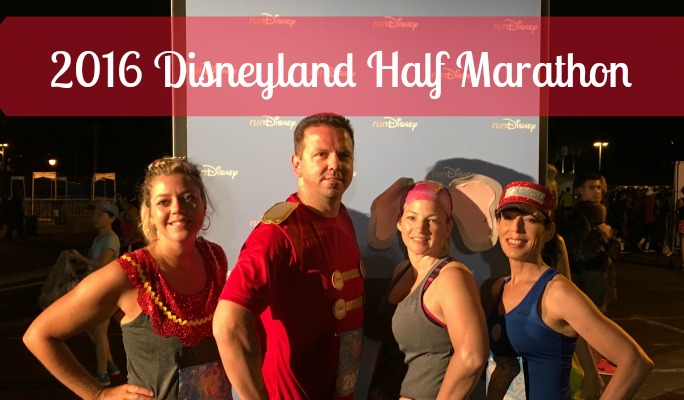
But for group running costumes, they can help you seriously up your game! They also helped to Disneyfy my Elvis costume, a Dopey Challenge tradition.

(Disneyfy is a real word, btw. I looked it up!)
And best off all, the headbands I use are comfy! So on to the tutorial!
How to make #MinnieEars for a #runDisney (or other) race! #diy #MickeyEars #disney Share on XHere’s what you’ll need:
- Headband
- Craft foam, (one sheet if you’re only making one.)
- Ear template
- Material for the bow
- Scissors
- Glue gun
- Sharpie or Chalk pencil
- Any other decorations to compliment your costume!
Finding just the right headband can be tricky. I like ones covered with satin since the material isn’t glued to the headband, allowing more “give” for the glued-on craft foam when the headband isn’t stretched while wearing. (Did that make sense? Eh, let’s just go with it. Here’s my current favorite that comes in a set of six in black, or various colors. (Affiliate links.) This set of twelve headbands are also awesome, plus they come in pink, green, purple, orange, and more!
I’ve also been loving sparkle craft foam at Michael’s or JoAnne’s with the adhesive back rather than the regular kind. With these, you don’t have to cut four pieces and there’s also a smoother seam on the end compared to ones you have to glue together.
As for the bow material, my favorite is the confetti-dot fabric from JoAnne’s! But you can use anything as long as it has a bit of stiffness to it.
For cutting out the ears, you can use a saucer, mug, any kind of circle shape that matches the size you want. Or if you like the size of my ears, here’s the template I use! It’s not perfect, but once the ears are put together, you can’t tell.
And now on to the steps that you can watch in this video or read below!
Step One: Cut out and Glue the Ears
- For those using adhesive foam, cut the sheet in half. (If you’re only making one set of ears.) Peel the backing off each half and stick them together, aligning as possible.
- Using the template, trace out both a left and right ear with a Sharpie or chalk pencil. (I try to plan it so the chalk line will be in the back.)
- If you’re using non-adhesive craft foam, trace and cut out two pieces each for the left and right, being sure to flip the templet for the front and back. Line up the two pieces for the left and then attach using a glue gun. (You won’t need a lot! And try not to get too close the ends so it won’t ooze out.) Repeat for the right side.
Step Two: Attach Ears to the Headband
- For this step, I stand in front of a mirror, being careful to keep my left and right ears easily identifiable.
- Hold the ears on your headband to figure out the best placement. (Mine usually are about 1-1/4″ to 1-1/2″ apart.)
- Once you’re happy with the placement, put down the right ear and use a chalk pencil to mark each side of the left ear. Then without removing the left, pick back up the right, decide on the placement and then put down the left so you can mark both sides of the right ear.
- Now, you don’t want to glue the ears on without the headband being stretched a bit, seeing as how it will be stretched while wearing. So I put the headband on my thigh and then squeeze a line of glue from chalk mark to chalk mark.


- Press the ear on the glue just enough to seal and hold for a few seconds.
Step Three: Time to make the bow!
Now for the bow, I used the awesome advice from this video by The Miss Allie Cakes. (She explains how to make her bow at 6:50.)
Since I make so many, I use a 10″ x 12-1/4″ template. For the center strip, I cut a 7/8″ x 5″ strip of fabric. It might be easier to watch me make mine in the video, but here’s some screenshots with quick instructions:
Using a chalk pencil or Sharpie, trace and cut out your rectangle as well as the center strip.


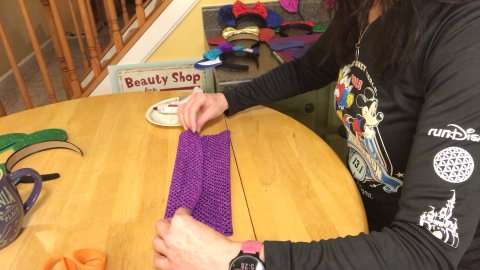
Turn the fabric lengthwise and fold up the bottom fourth(ish.)


Fold down the top a fourth and see if the placement looks good, then unfold and run a thin line of glue along the seam. (You’ll want this line to be roughly in the center.) Fold back down top and pat gently.


Trim any unevenness at the sides but this is not necessary. (I’m just a perfectionist.)

Fold the right side over about a fourth.

Run another thin line of glue along the seam. Again, you’ll want this to be roughly in the center of your bow. Then fold over the left side and pat gently.


Now comes the tricky part! I fold down the top and bottom of the rectangle, (roughly about a half inch,) then push the fabric together accordian-style so there’s two horizonal “waves” in the center. This may take a few tries but you’ll eventually end up with two pleats in the front!


I’ll then turn over the bow and put a dot of glue between the middle pleat just for stability. (Don’t add glue to the top or bottom fold.) Then I put a bit of glue on the outside center of the bow and press on the top of the strip with the excess hanging down. (This way, you can wrap the strip up the front and then down the back.)


Secure the strip in the back with more glue, but don’t add glue to the top or bottom of the bow. (This way, you can make adjustments later.) Trim off the excess strip.

Now it’s time to glue the bow to the headband! I always put on the headband first and hold the bow on in front of a mirror, checking to make sure of alignment. Then take off the headband and put a healthy dab of glue on the band between the ears. Press the bow on, pushing it back toward the center so there’s a nice arch.


I’ll then add a small dot of glue about there my finger is pointing so the bottom of the bow will lay nicely along the headband.


Step Four: The Final Touches!
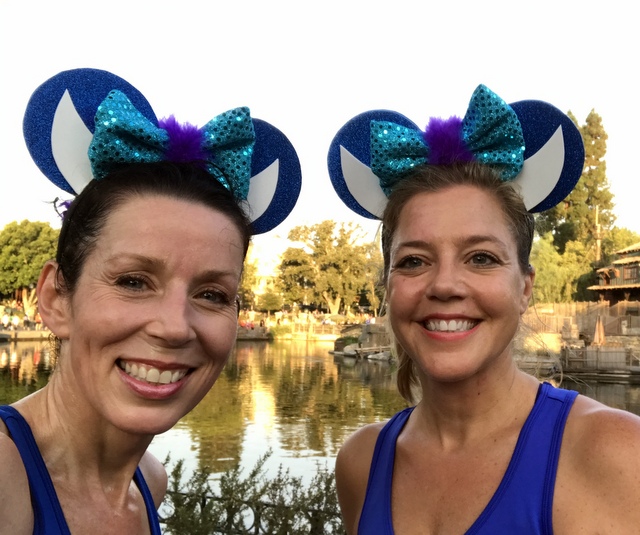
Now is when you can have some fun decorating your ears according to your costume! For our Monsters University Cheerleader costume, I made horns from white craft foam and used fuzzy purple for the bow’s center. (Pardon the sweat … this is from the VERY hot 2018 Disneyland 10k!)
The black felt spider cut-outs were actually supposed to go on the front of our red compression socks, but the adhesive didn’t stick so we put them on our ears instead!

And of course, I had to put a Drizzella and Anastasia spin on these ears for the 2018 WDW Half Marathon!

And there you go, how to make Minnie ears for your next rundisney running costume! If you make a pair, please use the hashtag #joyfulmiles so we can see how they turned out.
Thanks for reading and as always, have a joyful day!


Could you tell me how you made the poofy sleeves on your tshirts???
Thanks.
My friend made them, but she used elastic at both ends, gathering the tulle into small folds and stitching them down, and then she stitched it to the top of our tanks. Best of luck!